プラスチック射出成形金型の設計と開発のステップバイステップガイド

導入

The development of プラスチック射出成形金型 is a critical process in the manufacturing industry, providing the foundation for the mass production of カスタムプラスチック部品 across a wide range of applications. From automotive components to medical devices, plastic injection mold design and development ensures that products are produced efficiently, consistently, and with the highest quality standards.

But why is mold design so important? A well-designed mold not only shapes the plastic part, but it also determines the efficiency of the production process, the quality of the final product, and the overall cost of manufacturing. Without proper design and development, issues such as material waste, defects, and production delays can significantly impact the success of a product.

In this comprehensive guide, we will explore every step involved in the design and development of プラスチック射出成形金型. Whether you are a プラスチック部品メーカー or someone interested in understanding the intricacies of mold design, this article will walk you through the key aspects of creating effective molds, from defining product requirements to mold maintenance and troubleshooting.

プラスチック射出成形の理解

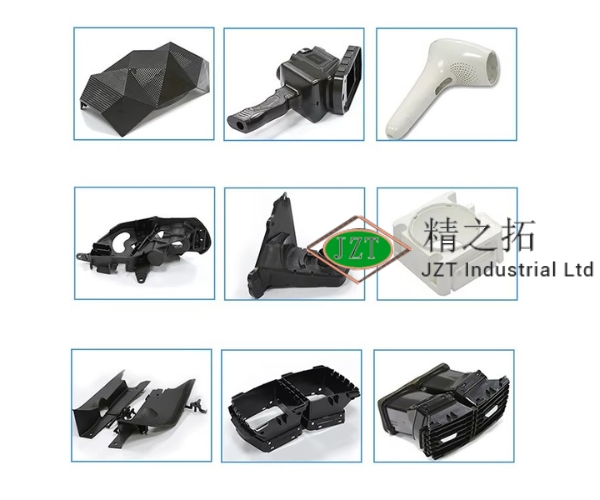
Before diving into the details of mold design, it’s important to have a clear understanding of the プラスチック射出成形 process itself. Plastic injection molding is a widely used manufacturing technique where molten plastic is injected into a pre-designed mold to form specific parts. This process allows for the production of large volumes of identical parts with high precision, making it the go-to method for industries such as automotive, electronics, consumer goods, and more.

The basic components of a plastic injection molding system include:

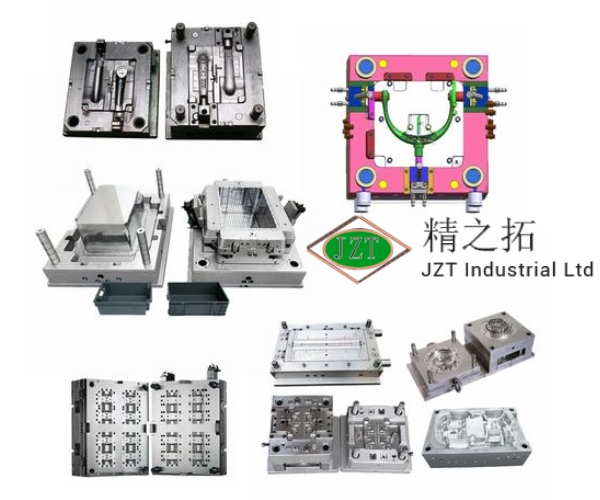
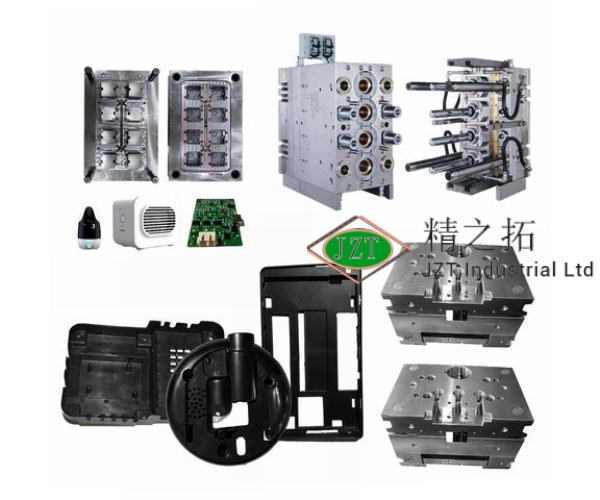
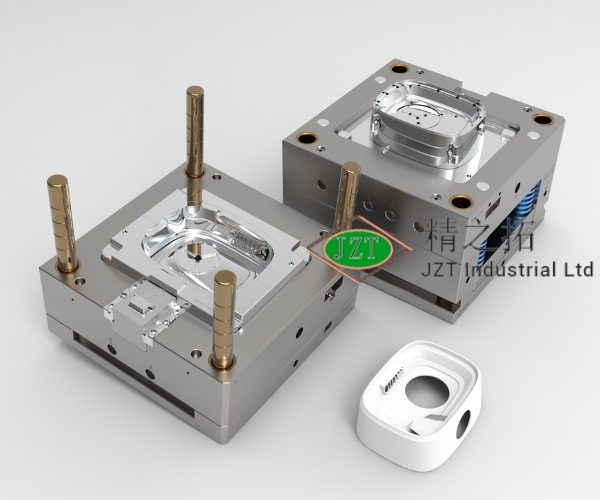
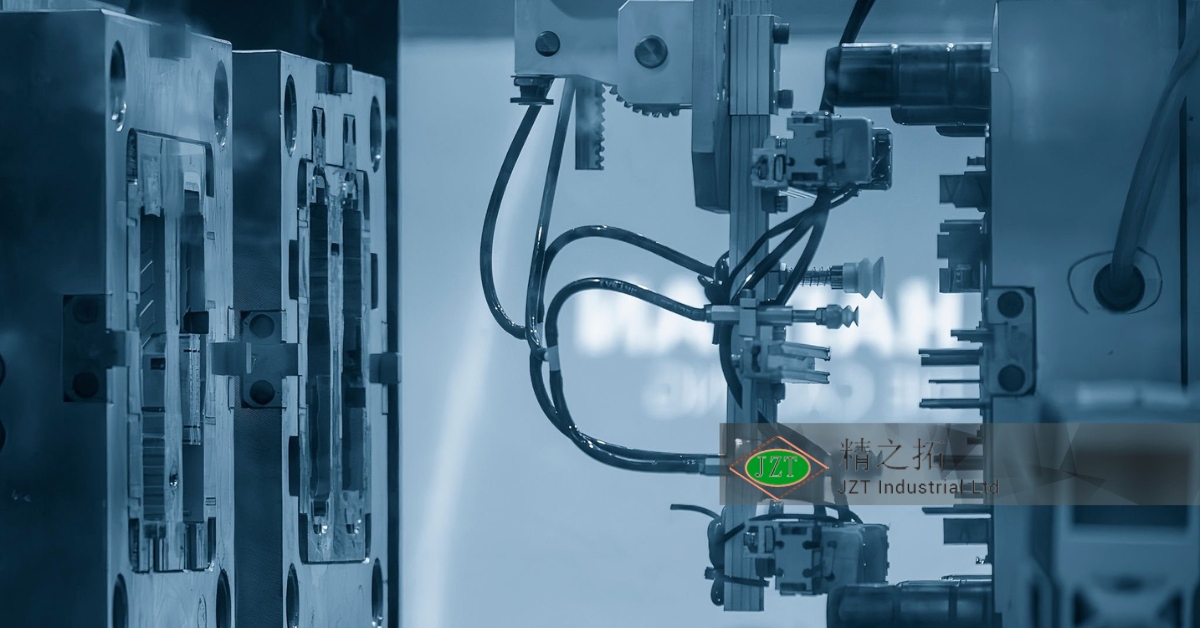
  • カビ: A precision tool, often made of steel or aluminum, that shapes the final plastic part. The mold consists of two halves: the cavity and the core.
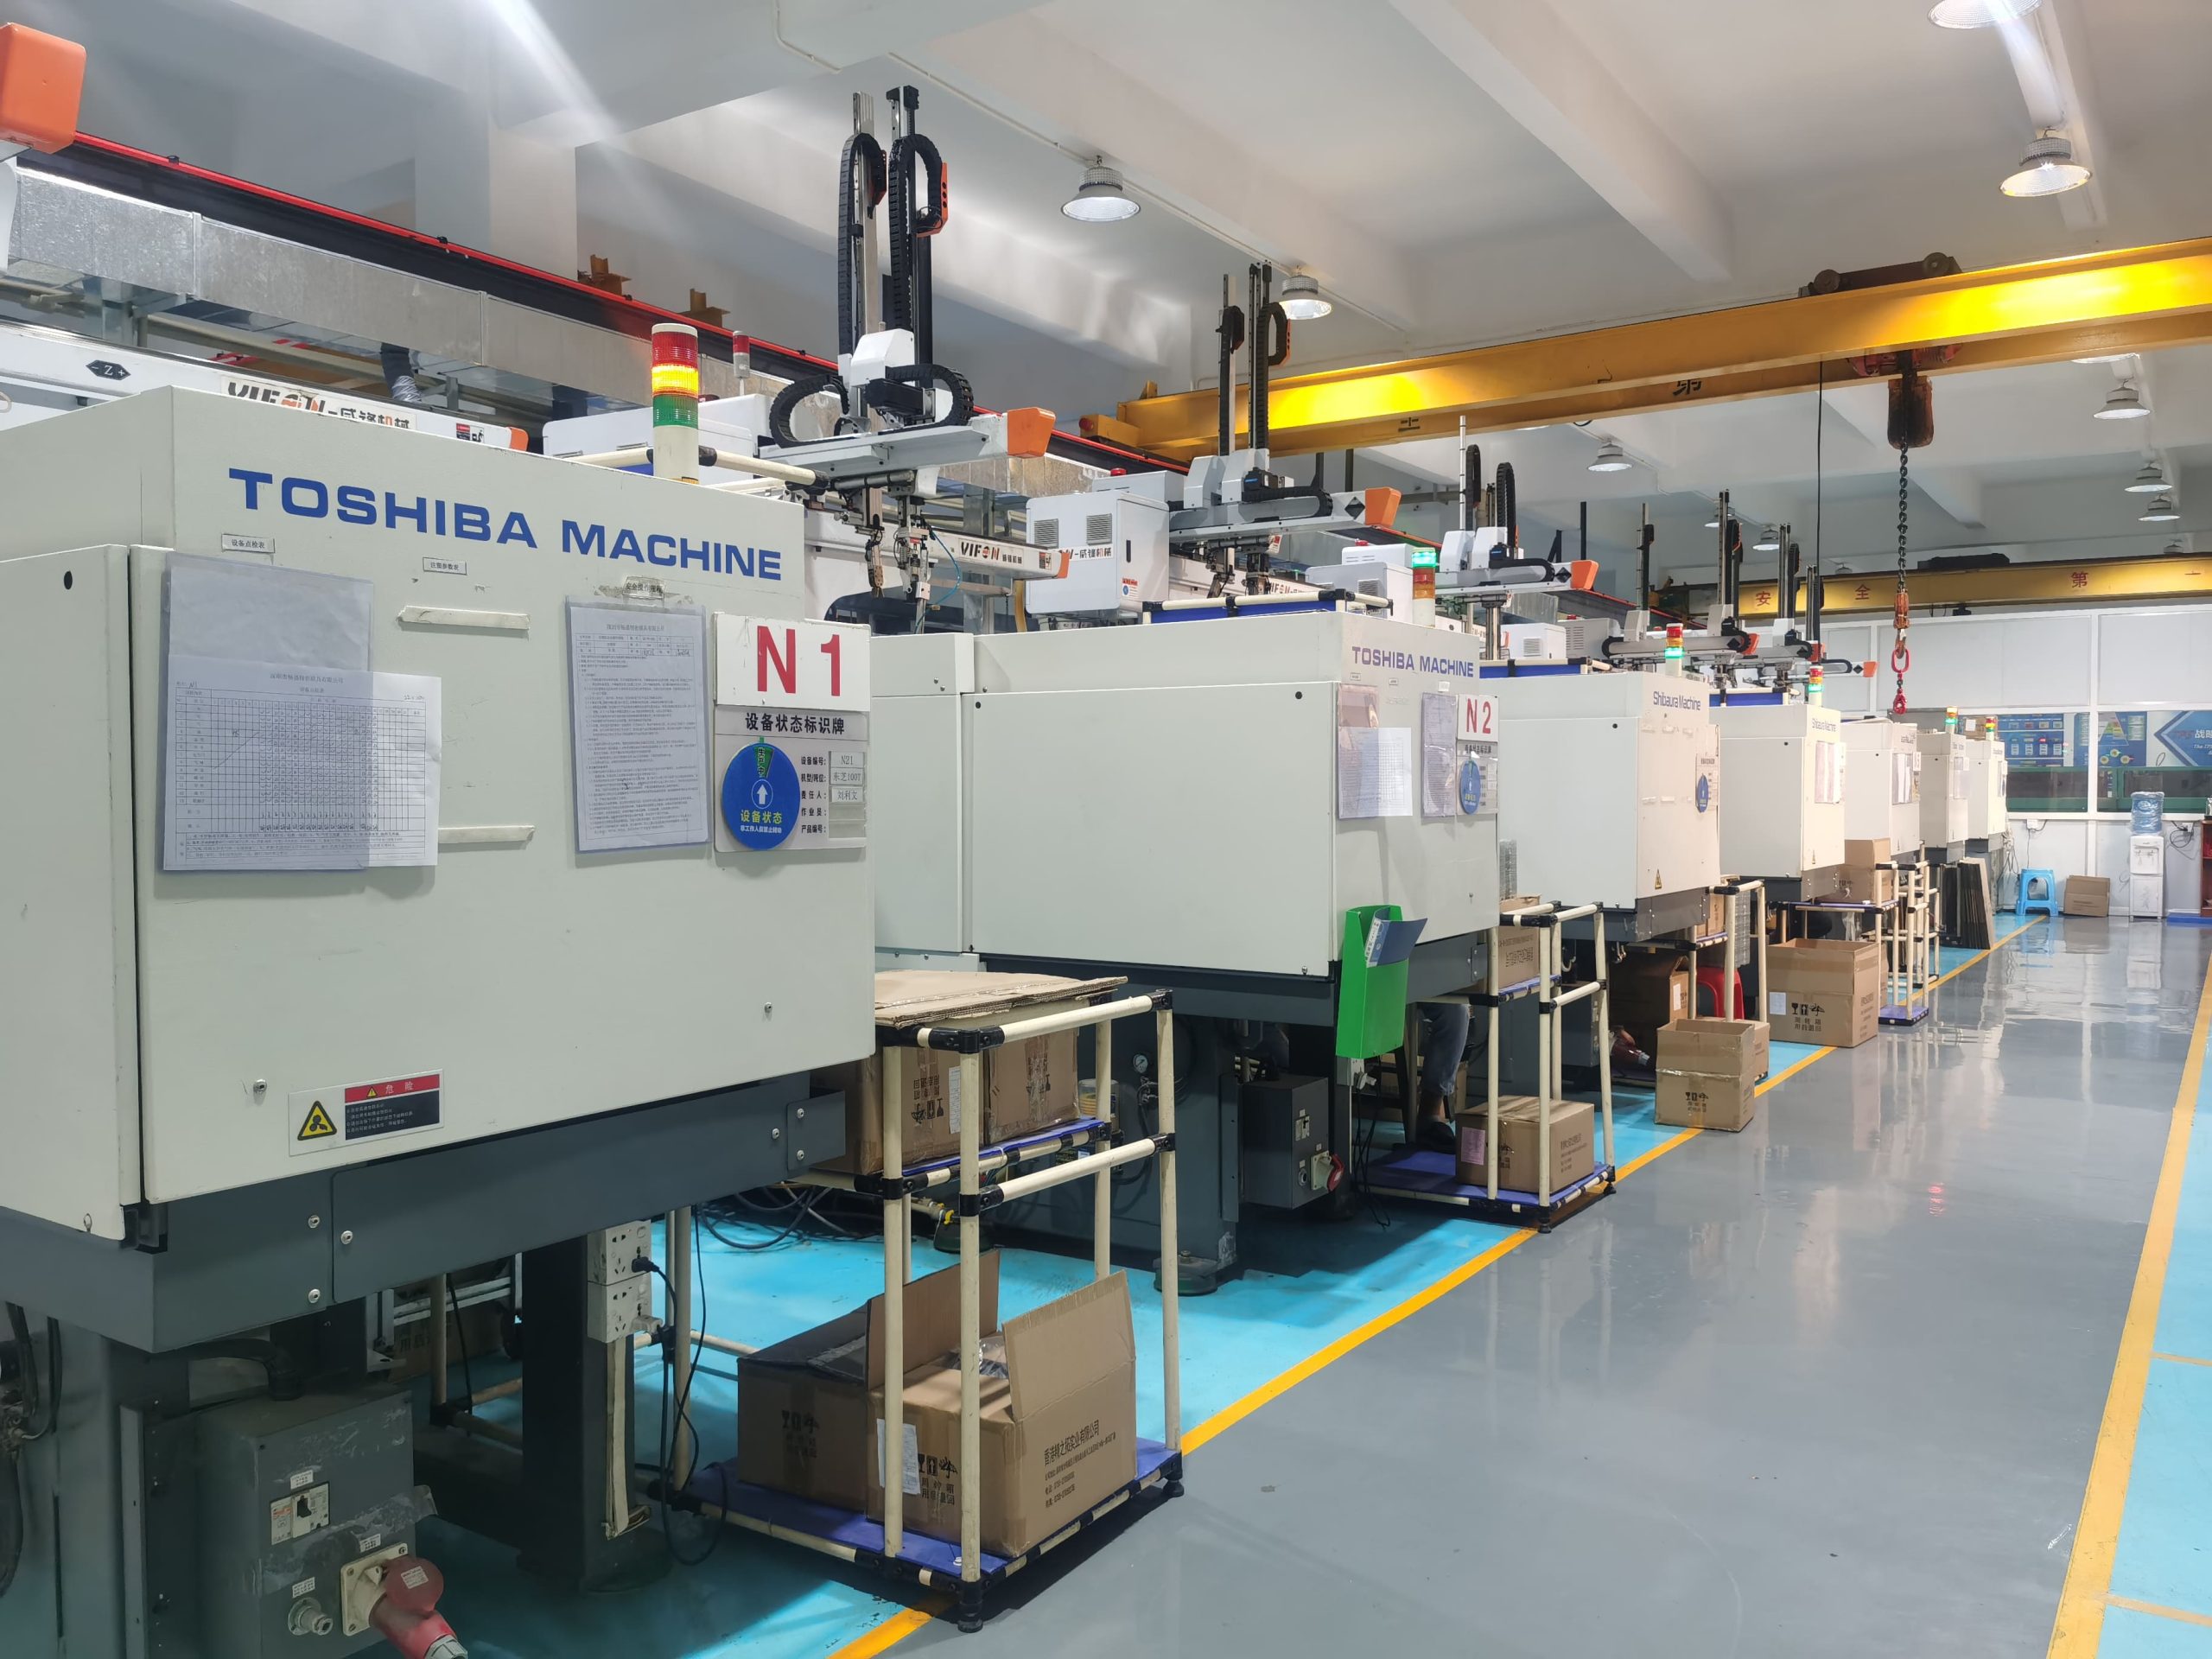
  • Injection Unit: This system melts plastic pellets and injects the molten material into the mold under high pressure.
  • Clamping Unit: The clamping system holds the mold tightly shut during the injection and cooling process to ensure the mold halves do not separate under pressure.

Types of Plastic Injection Molds

  • シングルキャビティ金型: These molds are designed to produce one part per cycle, making them ideal for low to medium production runs or highly specialized parts.
  • マルチキャビティ金型: Designed for high-volume production, these molds produce multiple identical parts in a single cycle, reducing production time and costs.
  • Family Molds: These molds produce different parts in a single cycle, typically used for parts that will be assembled together.

プラスチック射出成形 process is highly versatile, capable of producing intricate and complex カスタムプラスチック部品 with a high degree of precision. However, the success of this process relies heavily on the quality and accuracy of the mold, which brings us to the next crucial aspect—plastic injection mold design.

The Importance of Mold Design in Plastic Injection Molding

plastic injection mold design process is a cornerstone of successful plastic part production. Without careful planning and attention to detail, mold design can lead to issues such as part defects, inefficiency, and even costly manufacturing delays. The design phase of the mold is responsible for ensuring that every plastic part produced meets its intended specifications, including dimensions, strength, and appearance.

How Mold Design Affects Final Product Quality

Mold design directly impacts the quality of the final product. For プラスチック部品メーカー, precision in mold design ensures that every part is produced consistently and accurately, without defects such as warping, short shots, or sink marks. A well-designed mold takes into account not only the geometry of the part but also the properties of the plastic material, cooling times, and mold flow patterns to guarantee high-quality outcomes.

Mold Design and Production Efficiency

An effective mold design significantly improves production efficiency by reducing cycle times, minimizing material waste, and ensuring a smoother production process. Poorly designed molds can lead to frequent machine downtime, higher scrap rates, and longer cycle times, all of which increase the overall cost of production. By investing in high-quality plastic injection mold design, manufacturers can achieve more efficient production runs, lowering per-part costs and improving profitability.

Key Challenges in Mold Design

Mold design is not without its challenges. One of the most common issues faced by mold designers is warping, where uneven cooling causes the part to distort after molding. Additionally, incorrect gate placement or insufficient venting can lead to ヒケ, air traps, or weld lines, all of which compromise the structural integrity of the part. Overcoming these challenges requires a deep understanding of both the part’s design and the molding process.

Cost Implications of Mold Design

While designing a mold with optimal precision and efficiency may require a larger upfront investment, the long-term benefits far outweigh the costs. A well-designed mold lasts longer, requires less maintenance, and produces higher-quality parts with fewer defects, all of which contribute to reducing the overall cost of production. For プラスチック部品メーカー, this investment in proper mold design ensures smooth operations and higher profit margins over time.

Step 1: Defining the Product Requirements

The first and arguably most critical step in plastic injection mold design and development is defining the product requirements. This phase involves understanding the exact specifications that the plastic part must meet, which will guide the design of the mold.

Understanding Part Specifications

The success of the mold depends on a thorough understanding of the part’s specifications, including dimensions, shape, wall thickness, and tolerances. Designers must ensure that the mold will produce parts that meet the exact measurements and functional requirements laid out by the customer or design team. Precision at this stage ensures that the final parts fit seamlessly with other components or within assemblies.

Determining Functional Requirements

Every part serves a specific function, and the mold design must reflect this. For instance, if the part will be exposed to high temperatures or mechanical stress, the mold must be designed to accommodate the necessary material properties and ensure the part can withstand these conditions. Understanding the functional requirements early in the design process helps avoid costly redesigns or mold modifications later on.

Aesthetic Considerations

In addition to functionality, the appearance of the part often plays a crucial role, particularly in industries such as consumer goods or electronics. Surface finish, color, and texture must be considered when designing the mold to ensure the final part meets the aesthetic expectations of the end user. Proper mold design can ensure smooth, polished surfaces or matte finishes, depending on the requirements of the project.

Regulatory and Compliance Requirements

For certain industries, such as automotive or medical devices, parts must meet strict regulatory standards. This may involve compliance with specific industry certifications (e.g., ISO, FDA) or meeting safety and performance guidelines. These compliance requirements must be factored into the mold design from the start to ensure that the final product is both legally compliant and safe for use.

Step 2: Selecting the Right Materials for the Mold and the Part

Material selection is another vital aspect of the plastic injection mold design and development process. Choosing the right materials for both the mold and the part can significantly impact production efficiency, part quality, and overall costs.

Choosing the Right Plastic

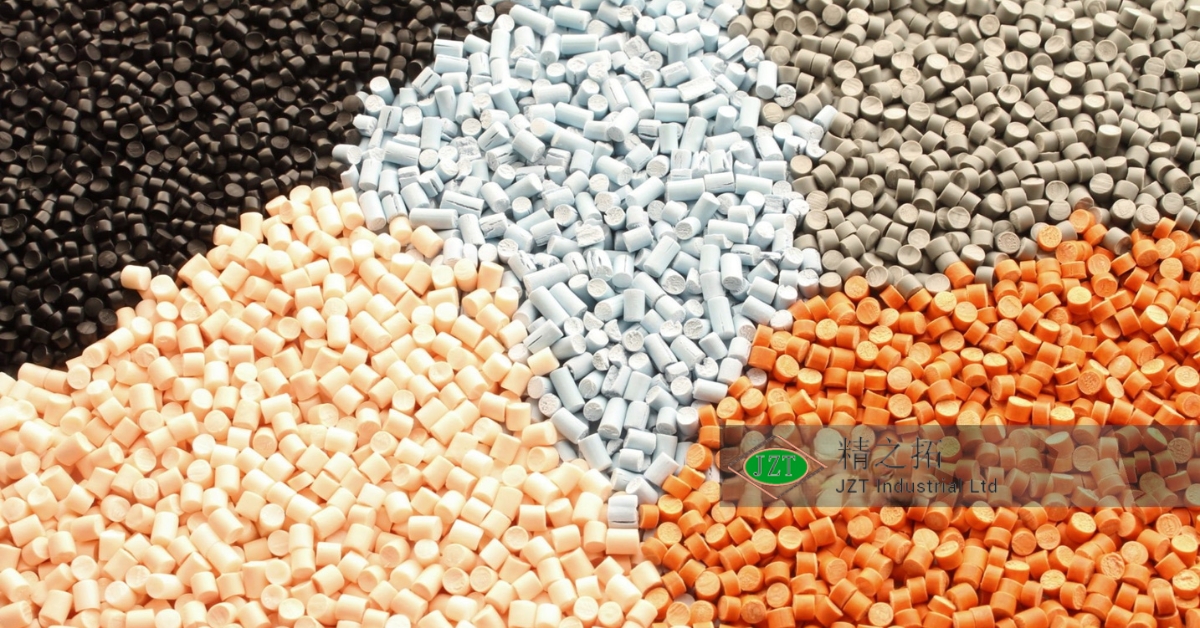
Selecting the appropriate plastic material for the part depends on several factors, including durability, 柔軟性, chemical resistance、 そして temperature tolerance. Commonly used materials in プラスチック射出成形 include:

  • アブソリュート: Known for its impact resistance and toughness, often used in automotive parts.
  • ポリプロピレン(PP): Lightweight and resistant to chemicals, making it ideal for packaging and consumer goods.
  • ポリエチレン(PE): One of the most versatile plastics, used for everything from plastic bags to bottles.
  • ポリカーボネート(PC): Known for its strength and transparency, often used in electronic components.

The selected plastic must align with the part’s functional and aesthetic requirements to ensure it performs as expected during its lifecycle.

Selecting Mold Materials

The material used to construct the mold itself is equally important. Mold materials must withstand the high pressures and temperatures of the injection molding process, while also offering durability for long production runs. Two common mold materials are:

  • Tool Steel: Highly durable and resistant to wear, ideal for long production runs of millions of parts.
  • アルミニウム: A more cost-effective option for lower-volume production, though it may wear out faster than steel.

In some cases, manufacturers may opt for specific coatings or surface treatments to improve the mold’s performance and longevity, especially when working with abrasive or high-temperature plastics.

Balancing Cost, Quality, and Durability

Material selection involves a careful balance between cost, quality、 そして durability. While high-end materials may improve mold longevity and part performance, they also increase upfront costs. On the other hand, lower-cost materials may reduce mold life or limit the quality of the parts produced. プラスチック部品メーカー must weigh these factors when selecting materials to ensure that the final product meets both performance and budgetary requirements.

Step 3: Designing the Plastic Injection Mold

Once the product requirements and materials are defined, the next step in the plastic injection mold design and development process is to design the mold itself. Mold design is a highly intricate process that requires careful attention to detail to ensure that the final part is produced efficiently, accurately, and without defects. The mold must be able to handle the pressures of injection, ensure even material flow, and allow for smooth part ejection.

Designing the Mold Layout

The mold layout refers to the overall structure of the mold, including how the cavities, cores, and other components are positioned. The layout must ensure that the plastic material flows evenly throughout the mold, filling each cavity without leaving air pockets or voids.

  • Cavities and Core Design: The cavity forms the outer shape of the part, while the core forms the inner structure. These two components must be designed to fit perfectly together, allowing for easy part ejection once the plastic has cooled. Designers must also consider the number of cavities in the mold, as マルチキャビティ金型 can produce multiple parts per cycle, increasing production efficiency.
  • Mold Base and Inserts: The mold base holds the cavity and core in place and must be designed to withstand the pressures of injection. Inserts can be used to modify parts of the mold to produce different versions of a part or to replace worn components without creating an entirely new mold.

Parting Line Design

parting line is where the two halves of the mold come together. Careful design of the parting line is critical, as any imperfections in this area can result in visible seams or flash on the final part. Designers must consider the geometry of the part and the location of the parting line to minimize visual defects and ensure that the part can be easily ejected.

Designing for Ejector Pins

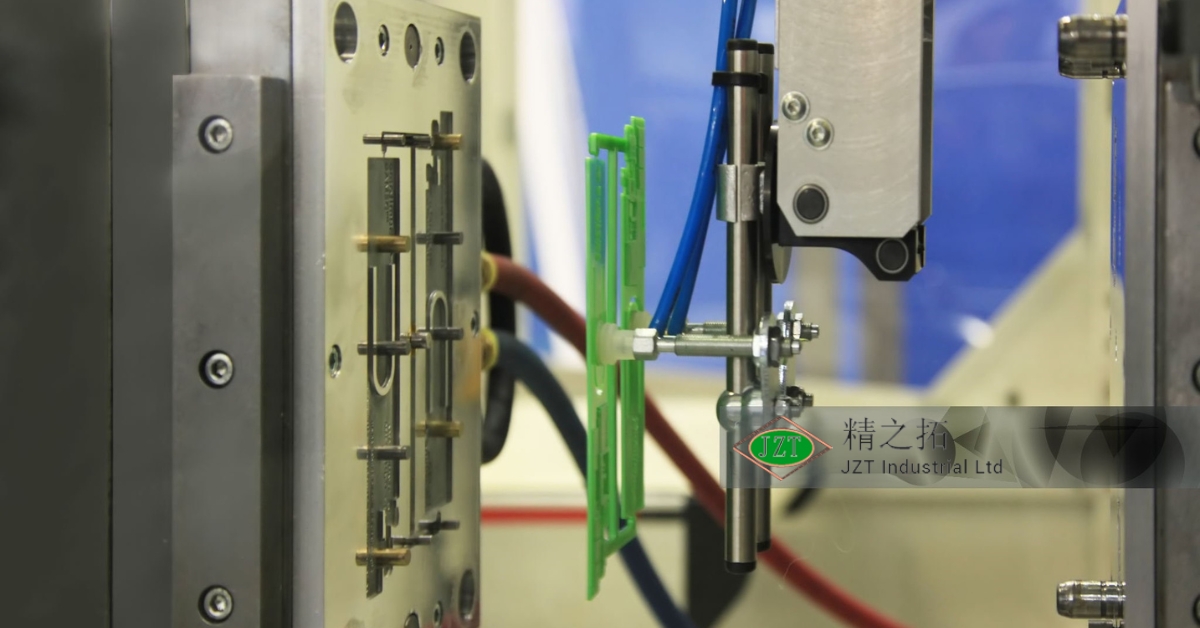
Once the plastic part has cooled and solidified, it must be ejected from the mold. Ejector pins are used to push the part out of the mold cavity, and their placement must be carefully considered to avoid damaging the part or leaving visible marks. The ejector pin design should also ensure that the part can be removed quickly and efficiently to reduce cycle times.

Gate Location

gate is the entry point through which molten plastic is injected into the mold cavity. The location and size of the gate are critical for ensuring even material flow and preventing defects such as weld lines or air traps. Depending on the part’s design, there are several types of gates that may be used, including edge gates, submarine gates、 そして hot runner systems. The choice of gate type and location will depend on factors such as the size of the part, the type of plastic used, and the desired surface finish.

Runner and Sprue Systems

In addition to the gate, the mold design must include runner and sprue systems that direct the molten plastic from the injection unit into the mold cavity. Runners are the channels that carry the plastic, while the sprue is the main channel that connects the runners to the injection point. These systems must be designed to minimize material waste and ensure that the plastic reaches the cavity evenly and efficiently.

Venting

During the injection process, air inside the mold cavity must be able to escape to prevent air traps or voids from forming in the part. Vents are small channels that allow air to escape without letting molten plastic leak out. Proper venting is essential for producing parts with a high-quality finish and avoiding defects like burn marks caused by trapped air.

ドラフト角度

Draft angles are slight tapers applied to the vertical surfaces of the mold cavity to allow the part to be easily ejected. Without draft angles, parts may stick to the mold, causing damage to both the part and the mold. The size of the draft angle depends on the part’s material and geometry, but even a small angle of 1-2 degrees can significantly improve ejection efficiency.

Step 4: Mold Flow Analysis and Simulation

Before a mold is manufactured, it’s important to use モールドフロー解析 to simulate how the molten plastic will behave inside the mold during injection. This step is critical for identifying potential issues before they occur in the actual production process, allowing for adjustments to the mold design that can save time, money, and material.

モールドフロー解析とは何ですか?

Mold flow analysis is a software-based simulation tool used to predict how molten plastic will fill the mold cavity. It helps designers understand how the material will flow, where potential defects might occur, and how to optimize the design to ensure even filling. By using this analysis, mold designers can prevent issues such as warping, ヒケ、 そして short shots.

Importance of Simulation Before Production

Running a simulation before the mold is produced can significantly reduce the risk of defects in the final parts. Without simulation, designers may not realize that certain areas of the part will not fill properly, or that cooling times may cause uneven shrinkage. By identifying these issues early, designers can make changes to the mold design, such as adjusting gate locations or cooling channels, to ensure a high-quality outcome.

Key Factors in Mold Flow Analysis

Several important factors are analyzed during mold flow simulation:

  • Fill Time: The simulation calculates how long it will take for the molten plastic to fill the mold cavity. If the fill time is too slow, the plastic may cool too quickly and fail to fill the entire mold, leading to defects. If it’s too fast, it may cause excess pressure that leads to flash or other defects.
  • Pressure: The analysis determines the pressure required to push the plastic through the mold. Ensuring the correct pressure helps avoid issues like overpacking, which can cause defects such as sink marks.
  • Cooling Time: Cooling is a crucial phase in the molding process, and mold flow analysis helps predict how quickly the part will cool. Uneven cooling can cause warping or shrinkage, so the simulation helps designers optimize the placement of cooling channels.

Common Issues Identified by Mold Flow Analysis

Some of the most common problems that can be identified during mold flow analysis include:

  • ヒケ: Areas where the plastic has shrunk unevenly, causing indentations on the surface of the part.
  • 溶接ライン: Lines that form where two flow fronts of molten plastic meet, which can weaken the part.
  • Air Traps: Pockets of trapped air that can cause voids or defects in the part.
  • Flow Lines: Visible streaks on the surface of the part caused by uneven flow of the plastic.

By running simulations before the mold is manufactured, designers can make changes that prevent these defects and improve the overall quality of the mold.

Step 5: Prototyping and Testing

Once the mold design is finalized and validated through simulation, the next step in plastic injection mold design and development is to create a prototype and begin testing. Prototyping is a crucial phase where the mold is tested for functionality, and adjustments are made to ensure that it produces parts that meet all required specifications.

Creating Prototypes of the Mold

prototype of the mold can be created using several methods, such as 3Dプリント または CNC加工. While these prototypes are not typically used for full production runs, they are essential for testing and refining the design before the final mold is made. 3D printing is often used to create quick, low-cost prototypes for visual and fit testing, while CNC machining can be used to create more accurate, functional prototypes that closely resemble the final mold.

Testing the Mold with Initial Runs

After the prototype mold is created, initial test runs are conducted to evaluate the performance of the mold under actual production conditions. During this phase, a limited number of parts are produced, and each part is carefully inspected for defects, dimensional accuracy, and overall quality.

Evaluating the Prototype for Functionality

The prototype parts are tested for fit, strength、 そして durability to ensure they meet the functional requirements of the final product. For example, if the part is intended for use in a high-stress environment, it will be tested for mechanical strength and resistance to impact or wear. Any issues identified during testing can be addressed by making adjustments to the mold design before full-scale production begins.

Making Adjustments Based on Testing Results

Based on the results of the testing phase, designers may need to make adjustments to the mold design. This could involve changing the gate location, modifying the runner system, or adjusting the cooling channels to improve part quality and reduce cycle times. The goal of this step is to fine-tune the mold so that it performs optimally during mass production.

The Role of Rapid Prototyping

Rapid prototyping plays a crucial role in speeding up the mold development process. By using technologies like 3D printing or SLA (Stereolithography), designers can quickly create and test prototypes without the need for expensive, time-consuming tooling. This allows for multiple design iterations to be tested and refined in a short amount of time, significantly reducing the overall development timeline.

Step 6: Manufacturing the Mold

Once the mold design has been fully tested and validated, the final mold is manufactured using high-precision machining processes. This phase is critical for ensuring that the mold is durable, accurate, and capable of producing high-quality parts over its lifecycle.

CNC Machining for Mold Creation

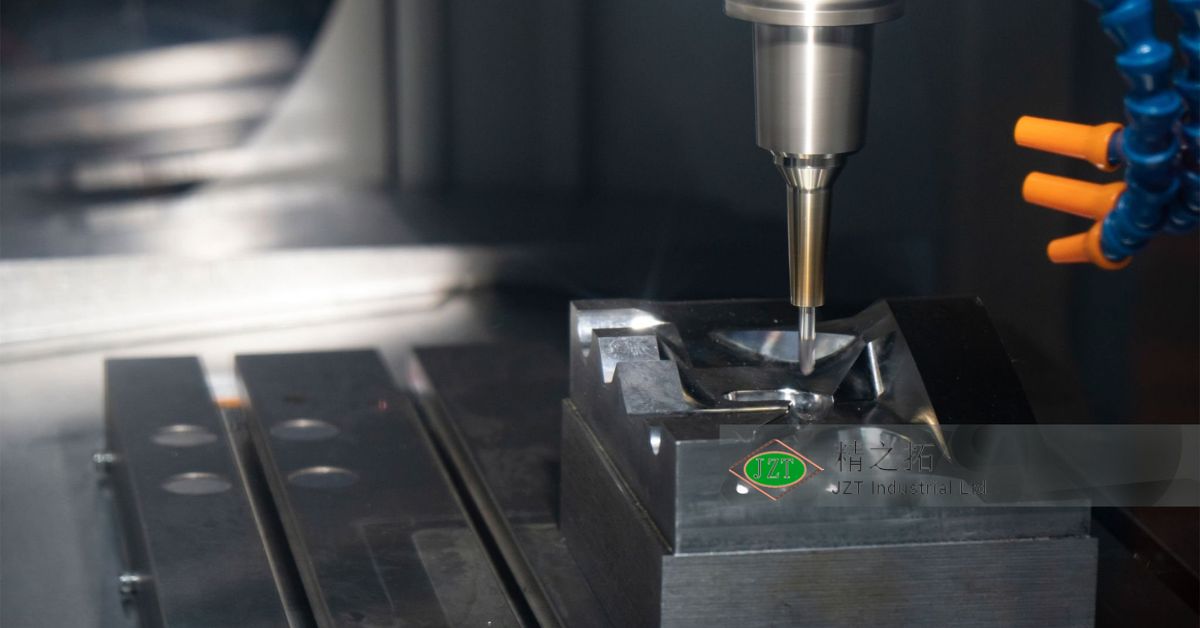
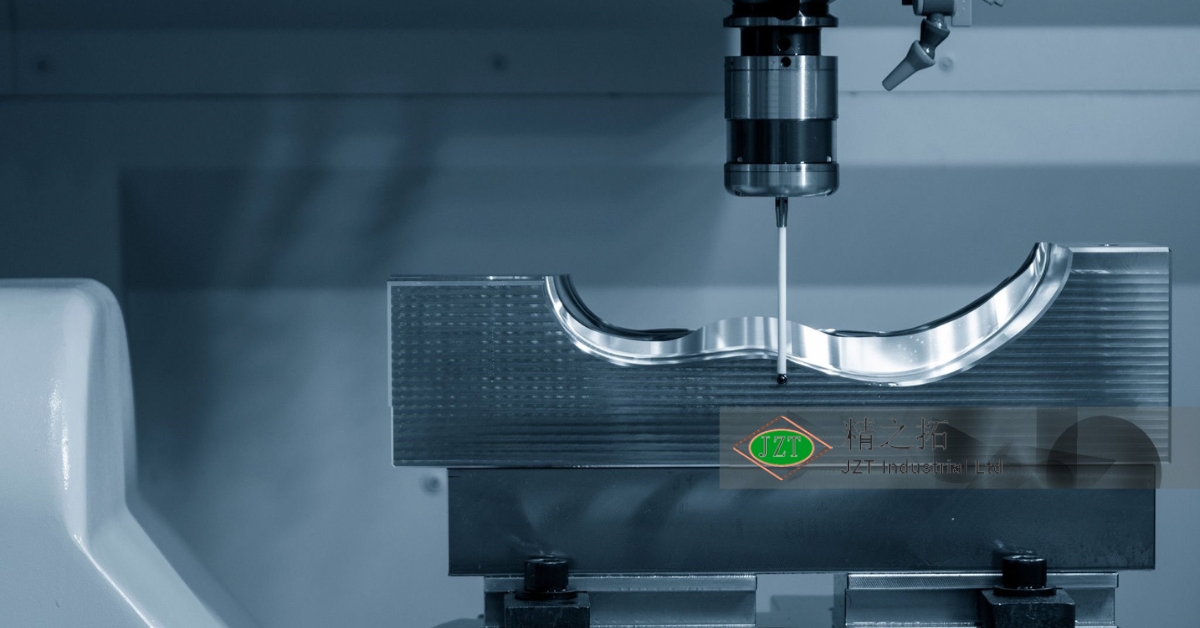
CNC (Computer Numerical Control) machining is one of the primary methods used to manufacture molds. This process involves using computer-controlled machines to precisely cut the mold cavity and core to the exact specifications required. CNC加工 allows for extremely tight tolerances and high levels of precision, which are essential for producing high-quality プラスチック射出成形金型.

EDM(放電加工)

For molds that require complex shapes or intricate details, EDM(放電加工) is often used. EDM uses electrical sparks to erode the metal, allowing for the creation of highly detailed mold features that would be difficult or impossible to achieve with traditional cutting methods. This process is commonly used for molds that have intricate internal features or fine details.

Quality Control During Mold Manufacturing

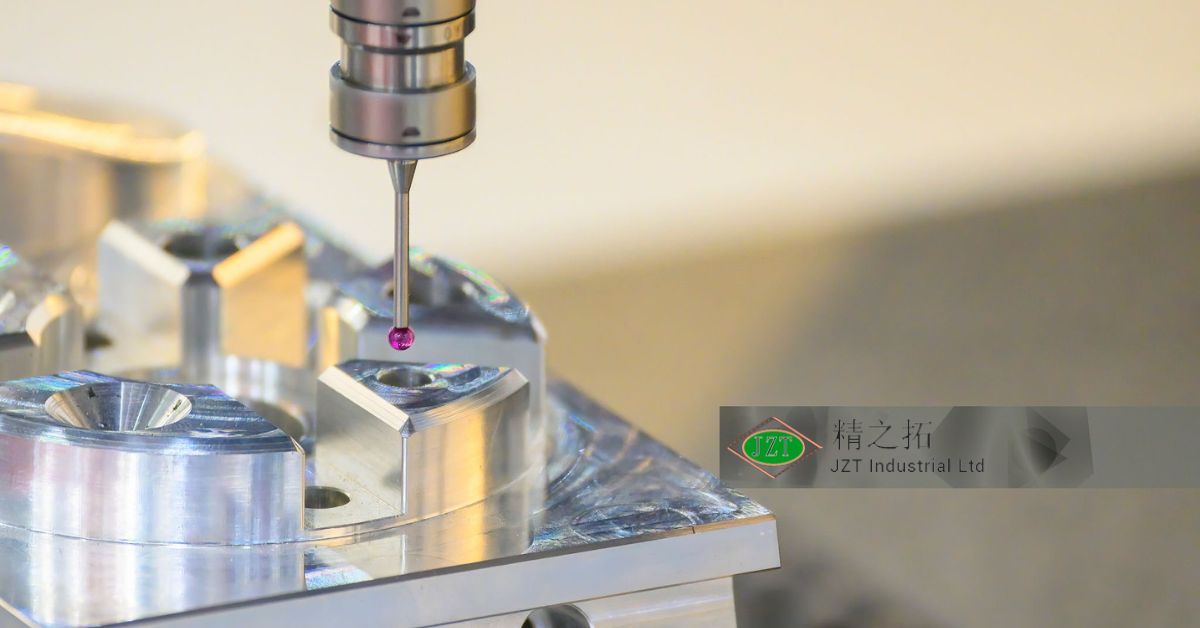
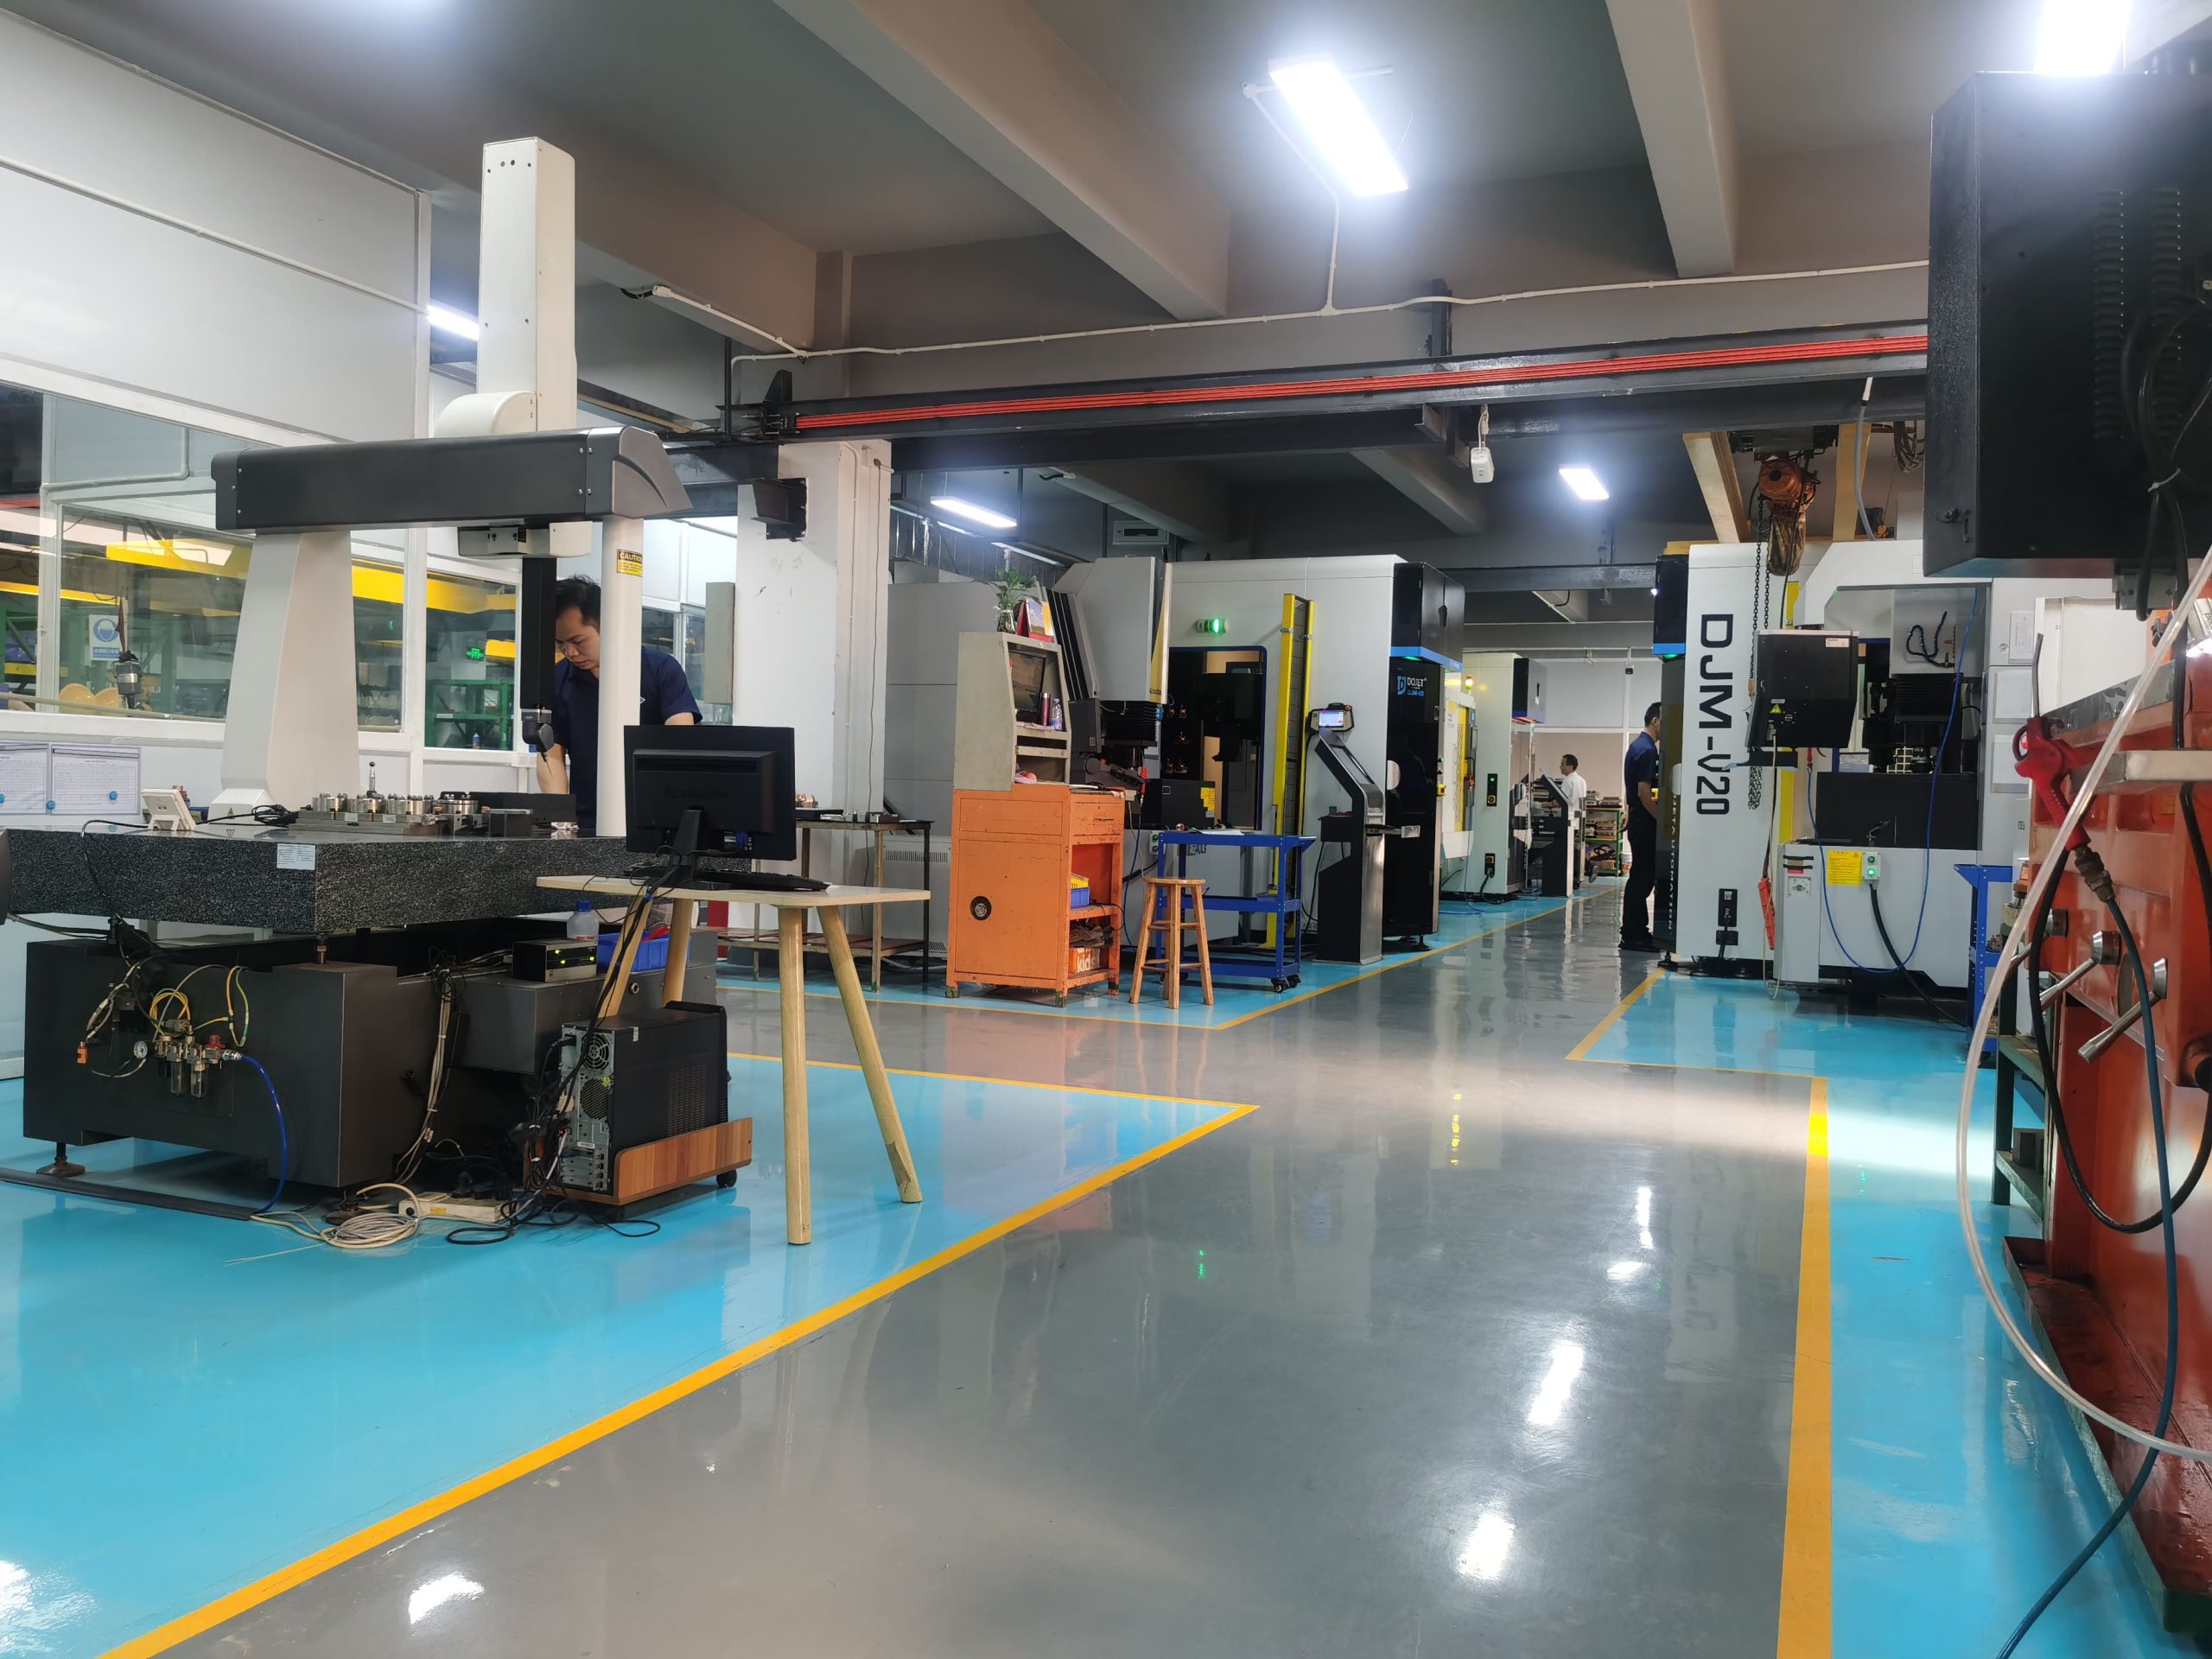
During the mold manufacturing process, quality control is essential to ensure that the mold meets the required specifications. 座標測定機 (CMM) are often used to measure the dimensions of the mold cavity and core, ensuring that they match the design exactly. By performing regular inspections throughout the manufacturing process, any issues can be identified and corrected before the mold is completed.

Polishing and Surface Treatments

Once the mold has been machined, it may undergo additional polishing そして surface treatments to improve its performance. Polishing helps to create a smooth surface finish, which is especially important for parts that require a high-gloss or polished appearance. In some cases, surface treatments such as hardening または coating are applied to increase the mold’s durability and resistance to wear.

Step 7: Mold Assembly and Testing

After the mold has been manufactured, the final step in the plastic injection mold design and development process is to assemble and test the mold. This step ensures that all components of the mold work together as intended and that the mold is ready for production.

Assembling the Mold Components

The mold is assembled by fitting together the cavity, core, ejector system, and other components. This assembly must be done with extreme precision to ensure that the mold operates smoothly during injection molding and produces parts with the correct dimensions.

Conducting a Trial Run

Once the mold is assembled, a trial run is conducted to test its performance under real production conditions. During this trial run, a small batch of parts is produced, and the mold is carefully monitored for any signs of defects, such as flash, short shots, or parting line mismatch. The trial run helps identify any issues that may need to be addressed before the mold is used for mass production.

Identifying Potential Issues

During the trial run, potential issues such as uneven filling, poor ejection, or cooling problems may become apparent. These issues can often be resolved by making small adjustments to the mold, such as repositioning the cooling channels or modifying the gate design. Identifying and addressing these issues during the trial phase helps prevent costly delays and defects during full-scale production.

Making Final Adjustments

After the trial run, any necessary adjustments are made to the mold to ensure that it meets all production standards. Once these adjustments are completed, the mold is ready for use in mass production.

Step 8: Production and Ongoing Maintenance

With the mold fully assembled and tested, it is now ready for full-scale production. However, the work doesn’t stop once production begins. Ongoing maintenance is essential to ensure that the mold continues to operate efficiently and produce high-quality parts over its lifespan.

Mass Production Using the Mold

During mass production, the mold is used to produce large volumes of カスタムプラスチック部品. The production process involves careful control of cycle times, injection pressure、 そして cooling rates to ensure that each part meets the required specifications. A well-designed mold will allow for fast, efficient production with minimal defects.

Routine Mold Maintenance

Over time, molds can experience wear and tear from repeated use. To extend the life of the mold, routine maintenance is essential. This includes regularly cleaning the mold, inspecting it for signs of wear or damage, and polishing the surface to prevent defects in the parts. Regular maintenance helps prevent issues such as sticking parts or poor surface finishes, ensuring that the mold remains in good condition for as long as possible.

Repairing the Mold

If the mold becomes damaged or experiences significant wear, it may need to be repaired. Repairs can involve replacing worn components, re-machining damaged areas, or applying surface treatments to restore the mold’s functionality. For プラスチック部品メーカー, investing in timely repairs helps avoid costly production downtime and ensures that parts continue to meet quality standards.

When to Retire a Mold

Eventually, every mold reaches the end of its useful life. Signs that a mold may need to be retired include increased maintenance costs, frequent repairs, and a decline in part quality. When this happens, it may be more cost-effective to create a new mold rather than continue repairing the old one. Understanding when to retire a mold is an important part of managing production costs and maintaining efficiency in the manufacturing process.

Common Challenges in Plastic Injection Mold Design

Despite advancements in plastic injection mold design and development, certain challenges persist. Understanding these challenges and knowing how to address them is crucial for achieving success in the mold design process.

Avoiding Warping and Shrinkage

ワーピング そして shrinkage are common issues that occur during cooling. Warping is caused by uneven cooling, which can distort the part, while shrinkage happens when the plastic contracts as it cools, leading to dimensional inaccuracies. Proper design of cooling channels and careful control of cooling rates can help mitigate these issues.

Dealing with Complex Geometries

Molds with complex geometries can be difficult to design and manufacture, especially if the part requires intricate details or undercuts. In these cases, advanced techniques such as ED or multi-part molds may be needed to achieve the desired results.

物質フローの問題

If the material flow is not properly controlled, defects such as short shots (incomplete parts) or air traps can occur. Optimizing gate placement, runner systems, and venting helps ensure even material flow and prevents these issues.

Maintaining Tight Tolerances

For industries like aerospace or medical devices, tight tolerances are critical to ensure that parts meet precise specifications. Achieving tight tolerances requires careful attention to detail during the mold design process and the use of high-precision machining techniques.

Technological Advances in Mold Design

Technological advancements have significantly improved the efficiency and accuracy of plastic injection mold design. By leveraging modern tools and techniques, manufacturers can create better molds faster and at lower costs.

CAD Software for Mold Design

CAD (Computer-Aided Design) software has revolutionized the mold design process by allowing designers to create highly detailed digital models of the mold. These models can be analyzed, tested, and modified in real time, reducing the need for physical prototypes and speeding up the design process. CAD/CAM integration also allows for direct communication between the design and manufacturing phases, ensuring that the final mold matches the design specifications exactly.

3D Printing for Mold Prototyping

3Dプリント has emerged as a valuable tool for ラピッドプロトタイピング in mold design. By quickly creating physical models of the mold or part, designers can test and refine their designs before committing to full-scale production. This reduces the risk of errors and allows for faster design iterations.

Smart Molds and IoT Integration

The advent of smart molds そして IoT(モノのインターネット) technology has enabled manufacturers to monitor mold performance in real time. Sensors embedded in the mold can collect data on temperature, pressure, and cycle times, allowing manufacturers to optimize production and reduce defects.

AI and Machine Learning in Mold Design

AI (Artificial Intelligence) そして 機械学習 are beginning to play a role in mold design by analyzing large datasets and predicting potential design flaws. By using AI to optimize the design process, manufacturers can create more efficient molds that produce higher-quality parts with fewer defects.

結論

The design and development of プラスチック射出成形金型 is a complex, multi-step process that requires careful attention to detail at every stage. From defining product requirements and selecting materials to designing the mold layout and running simulations, every decision made during the mold design process has a direct impact on the quality and efficiency of the final product.

By following the steps outlined in this guide, プラスチック部品メーカー can ensure that their molds are designed and developed to the highest standards, resulting in more efficient production, lower costs, and higher-quality カスタムプラスチック部品. As technology continues to advance, the mold design process will only become more efficient and precise, offering manufacturers even greater opportunities for innovation and success in the competitive world of manufacturing.

よくある質問

What is the most important factor in mold design?

The most important factor in mold design is precision. A well-designed mold ensures that parts are produced with consistent dimensions, strength, and quality, minimizing defects and maximizing production efficiency.

How long does it take to design and develop a plastic injection mold?

The time required to design and develop a プラスチック射出成形金型 can vary depending on the complexity of the part, but it typically takes several weeks to a few months. Factors such as material selection, part geometry, and the need for testing can all impact the timeline.

How do I choose the right material for my mold?

Choosing the right material for your mold depends on factors such as production volume, part material, and budget. Tool steel is ideal for long production runs due to its durability, while アルミニウム is a more cost-effective option for low-volume production.

What is the typical lifespan of a plastic injection mold?

The lifespan of a プラスチック射出成形金型 depends on the materials used, the complexity of the mold, and how well it is maintained. Steel molds can produce millions of parts over their lifespan, while aluminum molds may have a shorter lifespan but are more cost-effective for smaller production runs.

Can I modify an existing mold to produce a new part?

In some cases, an existing mold can be modified to produce a new part, but this depends on the extent of the changes required. Minor adjustments, such as adding new features or changing the gate location, can often be made, but significant design changes may require creating a new mold.

How can mold flow analysis prevent defects in production?

Mold flow analysis helps identify potential issues such as ヒケ, 溶接ライン、 そして air traps before the mold is manufactured. By simulating the flow of molten plastic through the mold, designers can make adjustments to the mold design that prevent these defects and ensure even material flow.

What are common mistakes to avoid in mold design?

Common mistakes in mold design include poor gate placement, insufficient venting, and failing to account for cooling rates. These mistakes can lead to defects such as warping, shrinkage, or incomplete parts. Careful attention to detail and the use of mold flow analysis can help avoid these issues.

目次

ニュースレター

最新情報、ニュース、無料の洞察を入手するには、ニュースレターに登録してください。

最新の投稿

共有先: